


I'm a scrapbooker who needs to be more organized. I collect lots of stuff and have organized it time and time again. Some of my systems have worked- others not so much. So, I've been on a quest to find the right organization products/styles that meet my needs. {Albeit on a budget.}
One of my favorite things to buy is scrapbook paper. When it's on sale I just can't resist! And as you know, it stacks up and desperately needs a safe place to keep from being torn or getting bent edges.
Scrapbook paper racks are the perfect solution... though, professional paper racks are very costly, especially once the shipping cost is added.
In my search I came across this awesome tutorial on Cat's Creations.
I'm soooo glad I found this because I have lots and lots of paper that need a good, safe home!!!
Do if yourself scrapbook paper rack:
What you'll need...
1 box Wire Storage Grids {available at Target and Walmart} cost: $15-20
1 package Zip/Cable Ties {available at any home improvement store} cost: $1-2
1 wire cutter or seriously heavy duty scissors
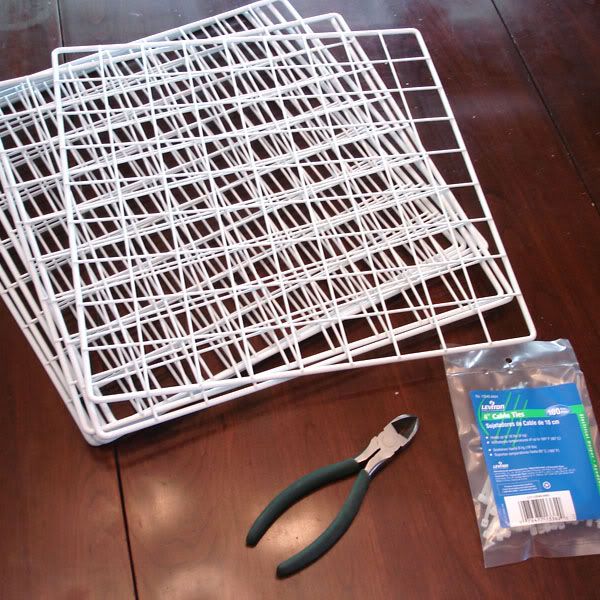
{Make sure your grids measure at least 12" square so your paper will fit. Mine are 13" square...perfect.}
1. Start by throwing out the weird little white plastic clips that come with the cubes.
You won't be needing these.
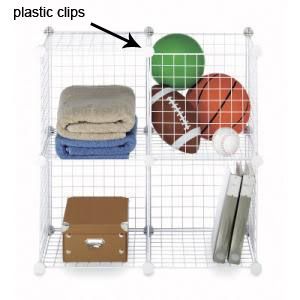
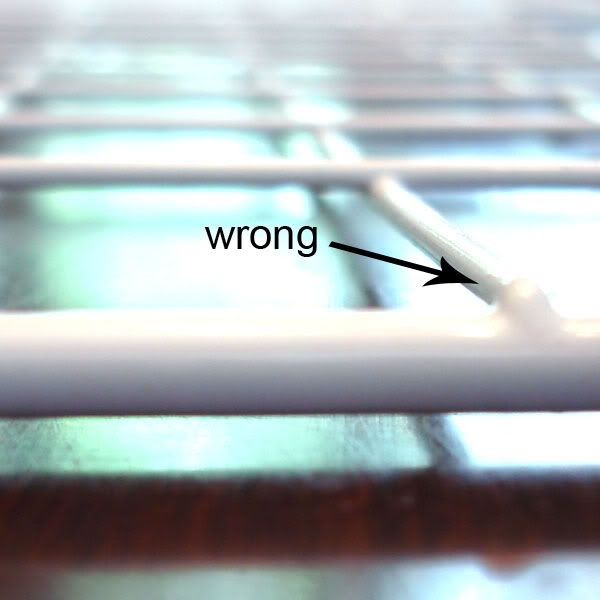
2. Build a basic cube (leaving one side open as shown above) by attaching the grids together using your zip ties. Make sure the little square nubbies are facing towards the outside of your cube so they don't catch on the paper. {photo below}
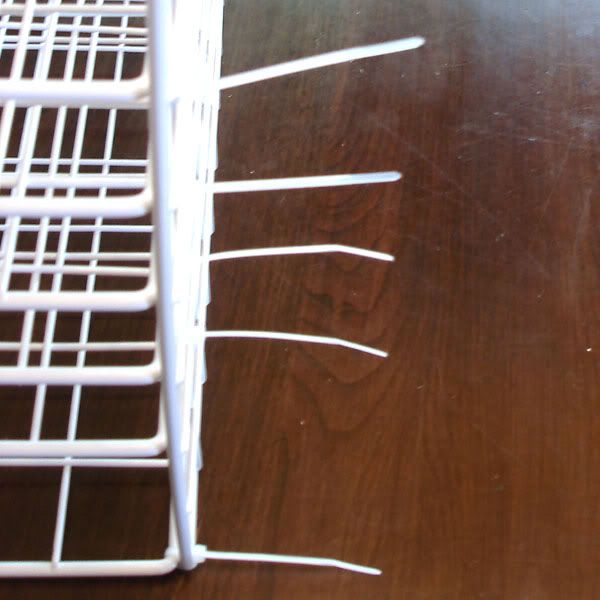
3. Next take the remaining white shelves and slide them into your cube and attaching them at 1 inch intervals where the grid already exists. If you need a larger slot for some paper sets just make it a 2 or 3 inch interval instead.
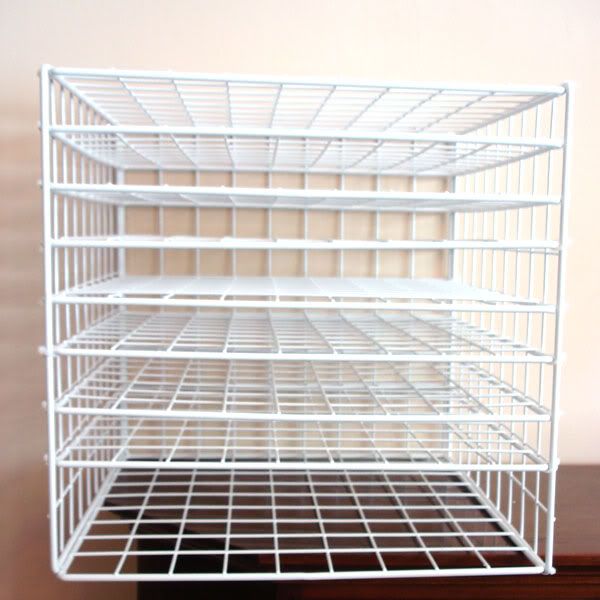
Make sure when you slide a shelf in that the wire grids are on the underside so that you get a slight lip on your paper tray. {photo below}
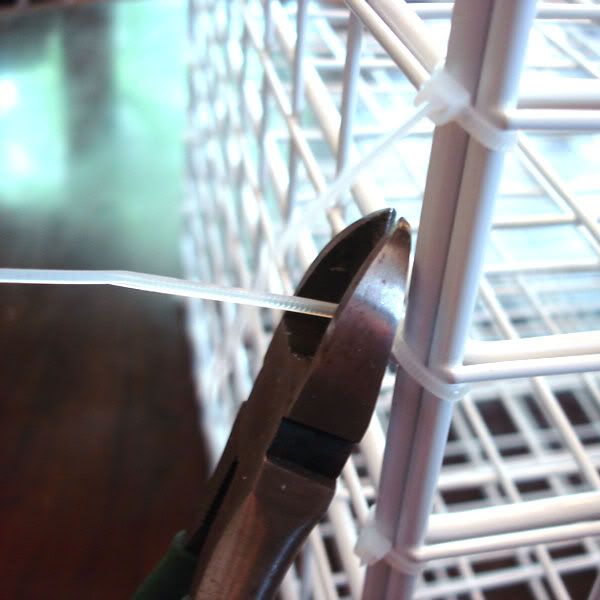
4. Use your wire clippers to remove excess plastic end from zip ties.
Fill with paper sorting by color, manufacturer or whatever makes you happy! Voila! Isn't it genius?!! I made 3 separate cubes out of 2 boxes of these grids and had some grid pieces leftover. I have even given these cubes as gifts to fellow scrapbookers with rave reviews!
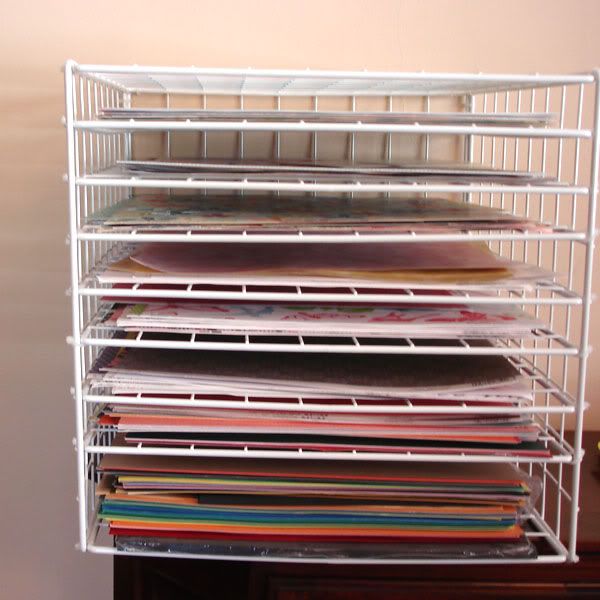
Pros:
- Inexpensive
- Customizable to include large and small shelf heights
Cons:
- May be hard to see certain papers since there is no graduation.


2 Royal Remarks:
This is a cool idea. I just may try it!
great idea i'm always looking to save money and I will try this idea for sure...thanks alot you just made my day!
Post a Comment